Disclaimer: This post may contain affiliate links. This means that if you click on the link and purchase an item, I'll make a small commission to keep the lights running. Furthermore, as an Amazon Associate I earn from qualifying purchases. I recommend only products I have personally tried and believe can bring value to you.
Let me be clear – I’m not a minimalist. Not a neat freak either. But visual clutter stresses me out. Okay, maybe not to begin with. But then, once it reaches a critical mass – I go full-Monica. At the same time, the thought of a full home declutter, in one go – stressed me out in a whole different way.
Turns out, recent research has found clear links between clutter and stress – and there really is a lot more to the psychology of mess. But the good news is that there is a lot a method to control the madness.
Here’s the secret I found out. Decluttering your home doesn’t need to be seen as ONE task. Instead, I like to break it down into small, achievable chunks. That takes some of the pressure off – and most importantly, finally spurs me into action.
The form you have selected does not exist.
Here’s are the simple steps to declutter your whole home, without stressing yourself out:
Break Down the Task
Not every part of your home needs to be cleared at once.
If you start thinking you knock off everything in a day, you’ll end up tired, frustrated, with probably more mess on your hands.
Instead, think of a Home Declutter as a long-term goal – achievable through shorter, time-bound projects.
The most practical way to do this is to split the task by room, or areas.
You can choose to focus on the room that needs most work – if you’re looking for a high-impact, visible result to start. Or, if you find that too overwhelming, there’s no shame in starting small. Pick up a small area, like the entryway. I have a whole article on where to start decluttering, it will help you decide what area to tackle first.
Set Realistic Deadlines
It’s important to set an overall timeline for the entire declutter.
This could be a month or even three months. You decide what works for your schedule. Keep it realistic.
Once you have the larger timeline, set shorter deadlines for the smaller projects.
Say a bedroom clear-up, on a Sunday. Or a full closet declutter, in one weekend. I recently reset my whole closet over a weekend (without driving myself up the wall) and if you’re interested in organizing your wardrobe here’s a fool-proof, step-by-step guide.
Make a Room-by-Room Checklist, or Print One

As you start to go room by room, it would be helpful to have a list of items you’d like to cover. This helps in a few ways:
- You won’t miss the usual suspects and spots
- You’ll have a system when you enter a room – saving you on time and energy
- You’ll know at one glance what you’ve already covered, giving you a sense of much-needed achievement
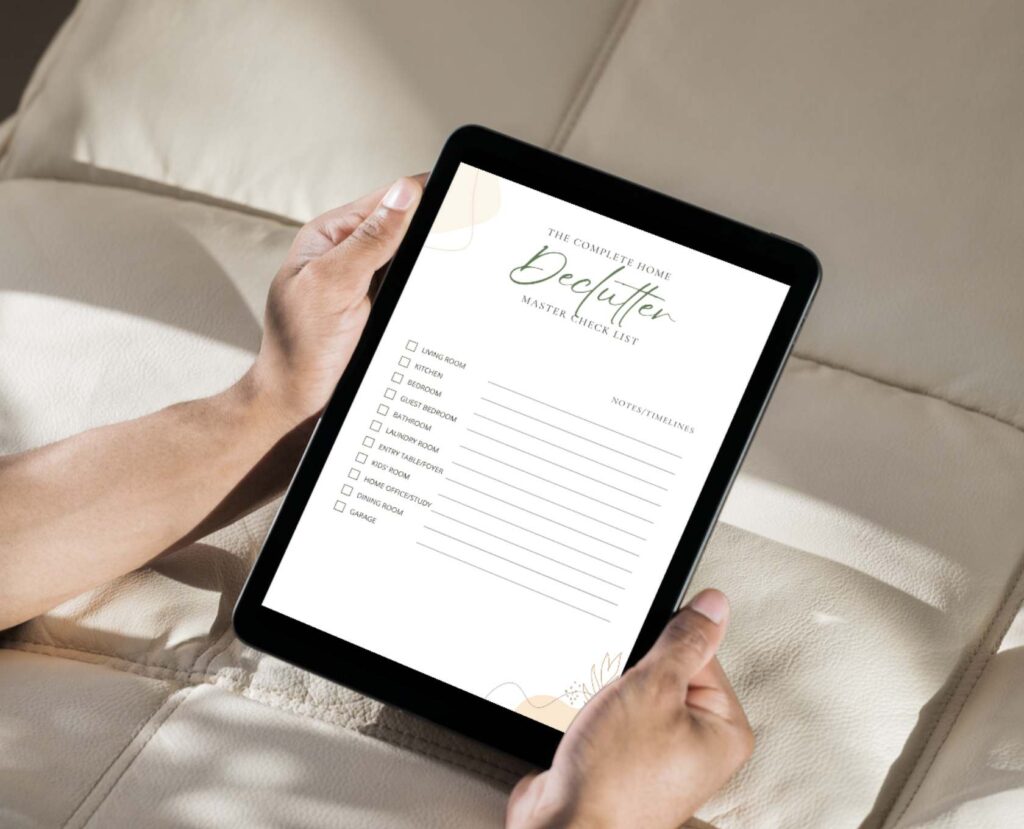
To get you started, I’ve made a comprehensive printable checklist for a complete home declutter.
It contains a master checklist (with some space to add your own notes and deadlines), and also contains checklists for 10 rooms and areas in your home – like the kitchen, laundry room, entryway, bathroom, laundry room, kids’ room and even the garage.
This should give you a great head start to get your home declutter project going – just print, and feel free to customise with your own items and notes.
Grab Your Gear to Start Your Home Declutter
Now that you have your checklist, it’s time to get your supplies.
You will need bins/bags for each of these category of items:
- Relocate: Things that are the wrong place and will need to be kept back on their designated spot
- Throw: Trash you don’t need anymore
- Donate: Things you’d like to give away
- Repair: Things that need to be fixed
Clear Off Surfaces

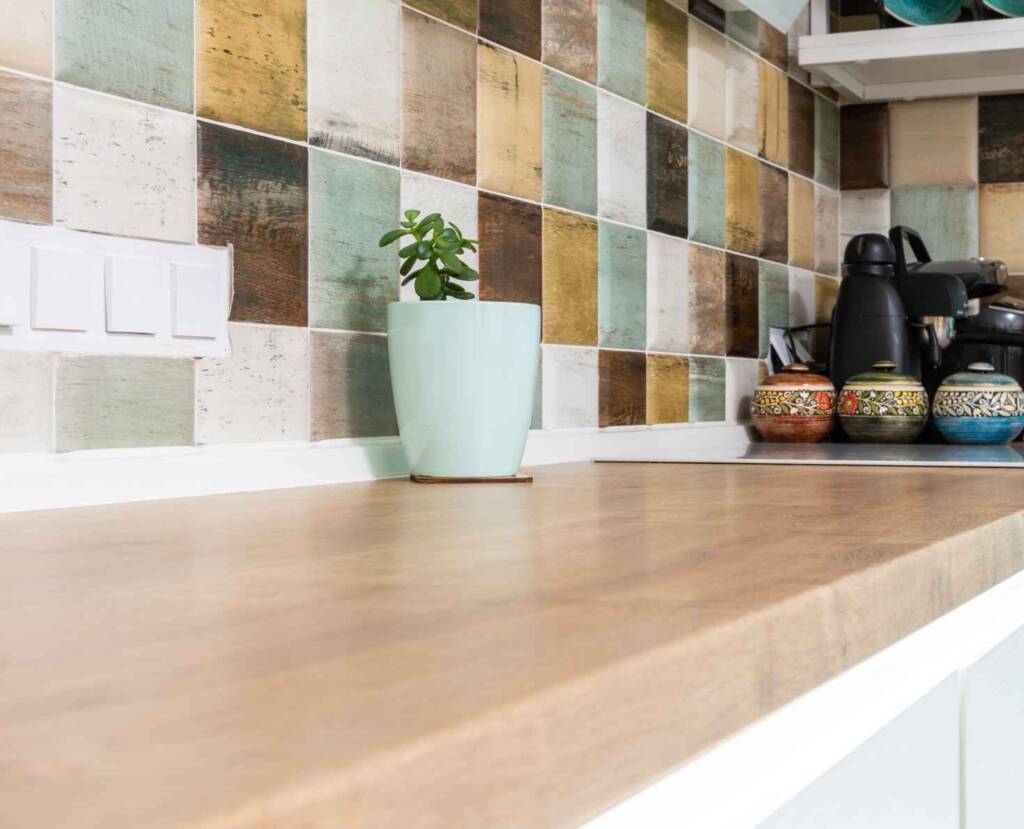
The best place to begin a declutter is by taking care of the obvious areas of visual clutter – the surfaces.
So if you’re in the kitchen, start with the counter. Living room? Start with the coffee table.
Without taking care of the mess that’s staring you in the face – it’s going to be near impossible to move ahead. Clear? Feeling better already, aren’t you?
Celebrate the Small Wins
Don’t be ashamed of celebrating a small win – like clearing off a really messy entryway or even just the kitchen counter.
If it makes you feel better, you’ve already made a ton of progress.
Take a breath, pat yourself on the back and maybe get some coffee? You’re going to need it.
Create Systems that Work for You

As you’re clearing away each room, it’s a good idea to establish some ground rules.
This will help to keep things from getting messy again quickly.
- Give a home to items that don’t have one.
- Create drop-off zones for frequently used items – use baskets and bins
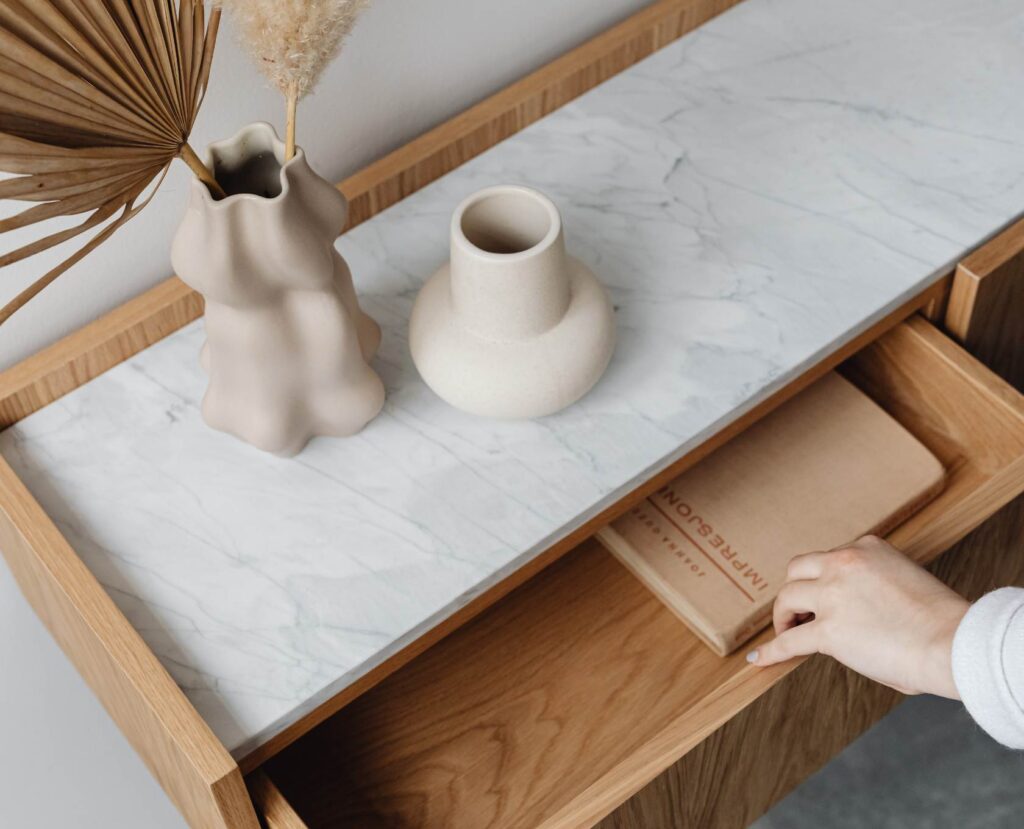
- Add thoughtful storage solutions for recurring areas of mess, like the kitchen island or the entryway.
- Think of rituals to keep yourself on track – for instance, Kristal, over at It’s My Favourite Day, has an interesting ground rule on setting up 15-minute tidy ups everyday. I have a fool-proof speed declutter guide that can help you clear out TONS of clutter from your home in just 20 minutes. I’m giving it away for free for a limited time – feel free to sign up below to get your free copy!
The form you have selected does not exist.
Don’t Forget to Take Breaks
I don’t know about you guys but I NEED a snack break from time to time, or I get real cranky, real fast.
Instead of feeling guilty, just take the break when you need to.
Hydrate yourself, get a snack, or take a power nap.
Trust me, it’s going to go a long way.
So that’s it! I find that if I follow the steps above, one at a time – I can actually do a full home declutter without pulling all my hair out.
Oh and the bliss of sitting pretty in a clean-mess free space, burning your favorite candle, enjoying a glass of bubbly – need I say more?


This article is a peaceful roadmap to whole-home decluttering. It blends practical steps with a calming mindset, making the process feel less like a chore and more like a journey to reclaim space and serenity. Uplifting and beautifully grounded!
Thanks, I’m glad to hear it helped you in some way 🙂