
Disclaimer: This post may contain affiliate links. This means that if you click on the link and purchase an item, I'll make a small commission to keep the lights running. Furthermore, as an Amazon Associate I earn from qualifying purchases. I recommend only products I have personally tried and believe can bring value to you.
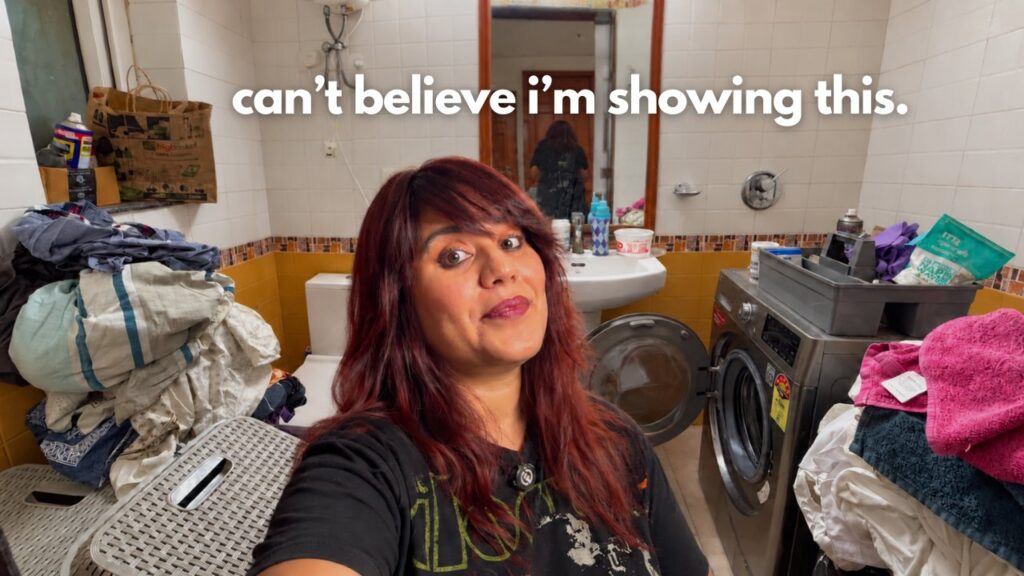
My laundry room is tiny. Not “small but with room for a folding island” tiny. It’s a utility bathroom turned laundry room, with just enough space in the middle to stand and wonder how so many things ended up in here.
Over time, the baskets had started overflowing, cleaning supplies were scattered around, and the racks were grimy. I had storage I couldn’t reach and a stool I couldn’t use because a laundry basket was sitting on it. Very helpful, everyone. Excellent teamwork.
So this small laundry room reset was about making everyday laundry easier. I decluttered, cleaned and rearranged what I already had, keeping my rental restrictions and actual habits in mind. Here’s what helped, including the bits I’m still figuring out.
First, work out what is making laundry difficult
Before moving things around, I looked at where I was getting stuck. A basket blocked my three-tier supply rack, so I was effectively only using the top shelf. The larger detergent bottles ended up outside it, adding to the mess. The storage existed. Access to it did not.
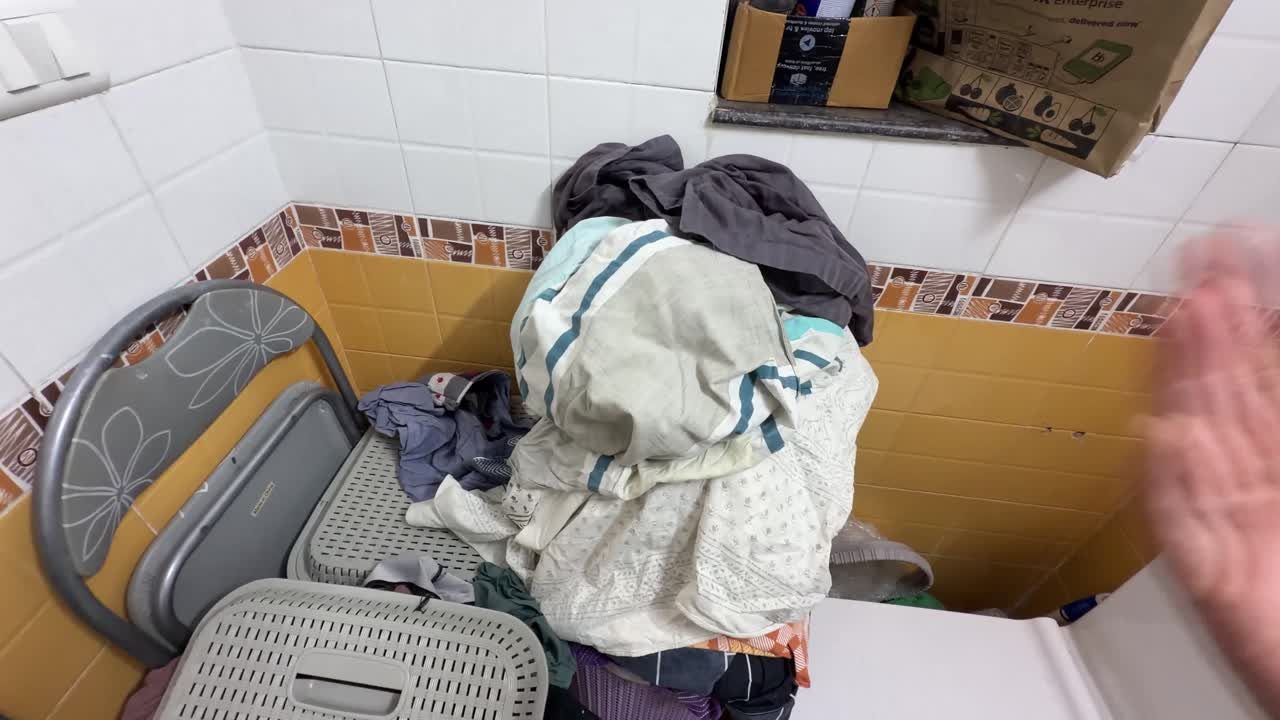
Bed linen had become a small mountain, spilling into the next basket. There was also a mystery basket of clothes that kept getting passed over on laundry day. And gardening supplies were living in a random bag, because apparently this room had also applied for a second job.
The room still needed to function as a utility bathroom, too. I couldn’t solve one problem by putting a basket in the way of the basin or the walking space. If you’re working with a similarly awkward room, notice what you have to move, reach over or squeeze past each time you use it. That’s a useful place to start.
1. Declutter before trying to organize the room
My first job was to take out anything that didn’t belong here, wasn’t useful anymore or needed to go somewhere else. I grouped the things I definitely needed separately from the things I needed but hadn’t found a home for yet.
The obvious rubbish included empty bottles, expired items and even an old washing machine pipe. All of that had been taking up space in a room that really didn’t have any to spare.
If a full room reset feels like too much, start with my 20-minute Trash Bag Therapy declutter. Clearing the obvious stuff gives you a little breathing room before the more fiddly decisions.
2. Open the mystery laundry basket
You know the basket. The clothes inside aren’t urgent, so you wash everything else first. Then you repeat that decision for an impressively long time. At some point, you have to ask whether you’re storing laundry or preserving an archaeological site.
I went through mine properly. Some things weren’t needed, some belonged elsewhere, and some were off-season clothes. Emptying most of that basket meant I could take a basket out of this room and free up floor space.
I put it where my husband already drops his clothes on the floor. The clothes were going there anyway; now there’s a basket to catch them. Sometimes organizing is just accepting the evidence in front of you.
I was trying three laundry baskets in the room instead of four, but I wasn’t sure whether that would work long term. It’s an experiment, and I might need to change it. The useful part was questioning what was in each basket, rather than assuming every full basket needed a permanent parking spot.
3. Clean the empty storage before putting things back
Once the clutter was out, I cleaned the caddy, the rack and the floor, and wiped down the washing machine exterior. It was much easier to see what I was working with when I wasn’t trying to organize around the grime.
There was a stage where everything looked worse because I’d pulled it all out. That’s the slightly annoying middle of a reset. It doesn’t mean you’ve failed; it means the contents of the room are temporarily auditioning for floor space.
4. Make every shelf accessible
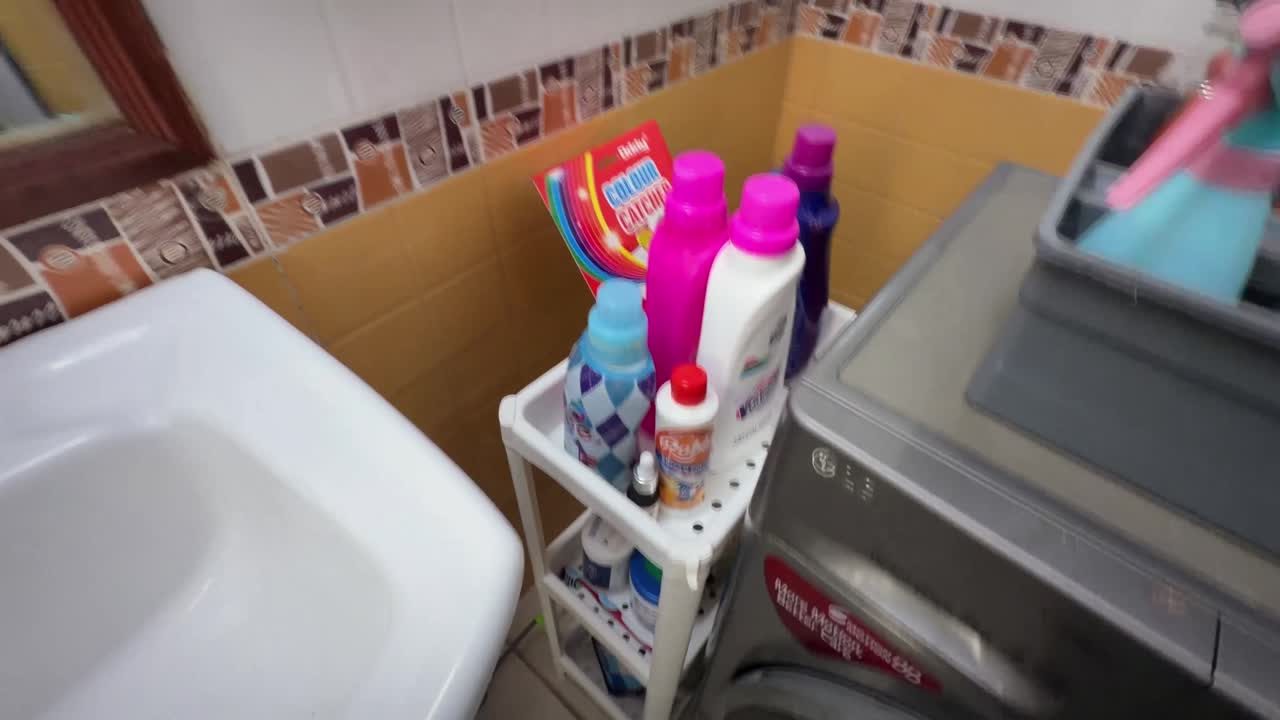
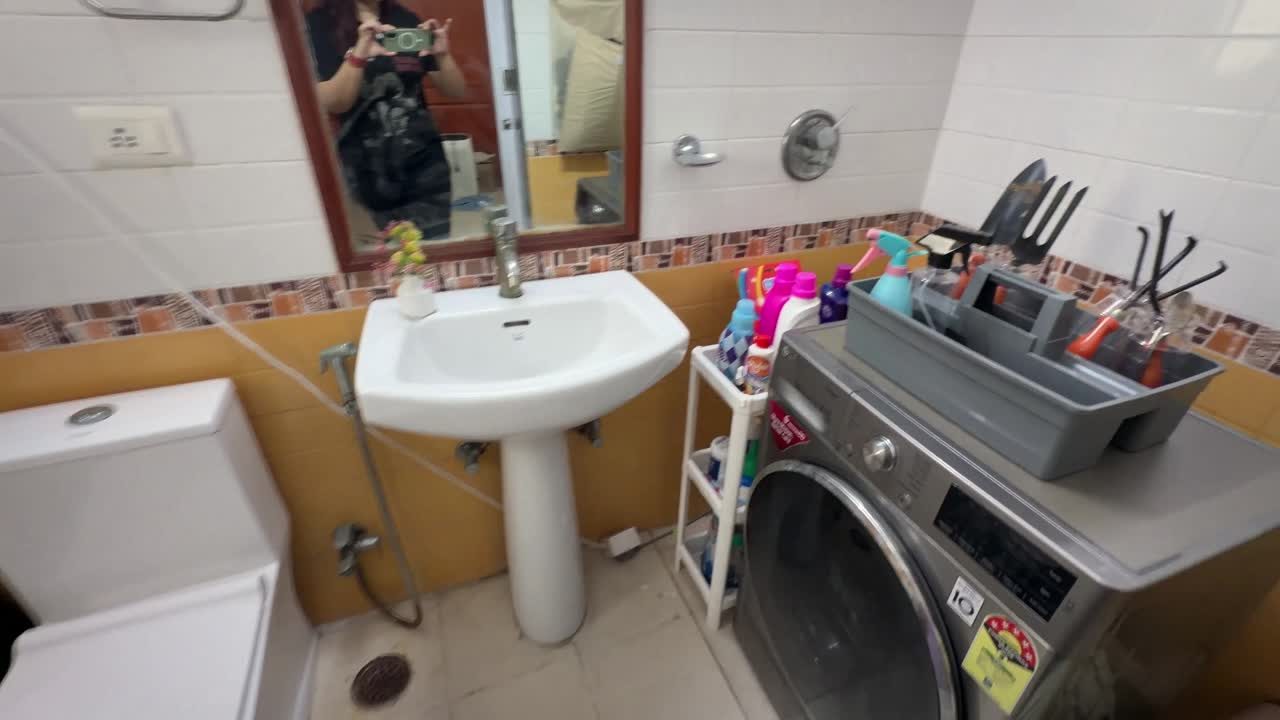
The biggest layout improvement was repositioning the supply rack at the corner of the washing machine. I could finally reach all three tiers, and the basket no longer blocked the shelves.
That was more useful than adding another organizer. Before, I technically had three shelves but could comfortably use one. Moving the existing rack made the rest of its storage usable again.
I also arranged supplies by how often I use them. Everyday laundry products went within easy reach at the top, with less frequently used items and larger bottles on the other tiers. The idea was to stop making myself rummage for things I use all the time.
5. Use vertical space you can actually reach
Vertical storage helps in a small laundry room, but not every empty wall is a practical storage spot. Some of mine have power points or a window, and the wall behind the washing machine is too far away for me to reach comfortably every day.
I’m renting and can’t drill here, so I put my stick-on wall hamper back on the accessible wall. I use it for undergarments and socks, because socks seem to have a very loose understanding of where they belong.
If you’re considering something similar, check that the surface and load are suitable for the product’s installation instructions. The useful storage is the storage you can reach without turning laundry day into an obstacle course.
6. Give the random things a proper home
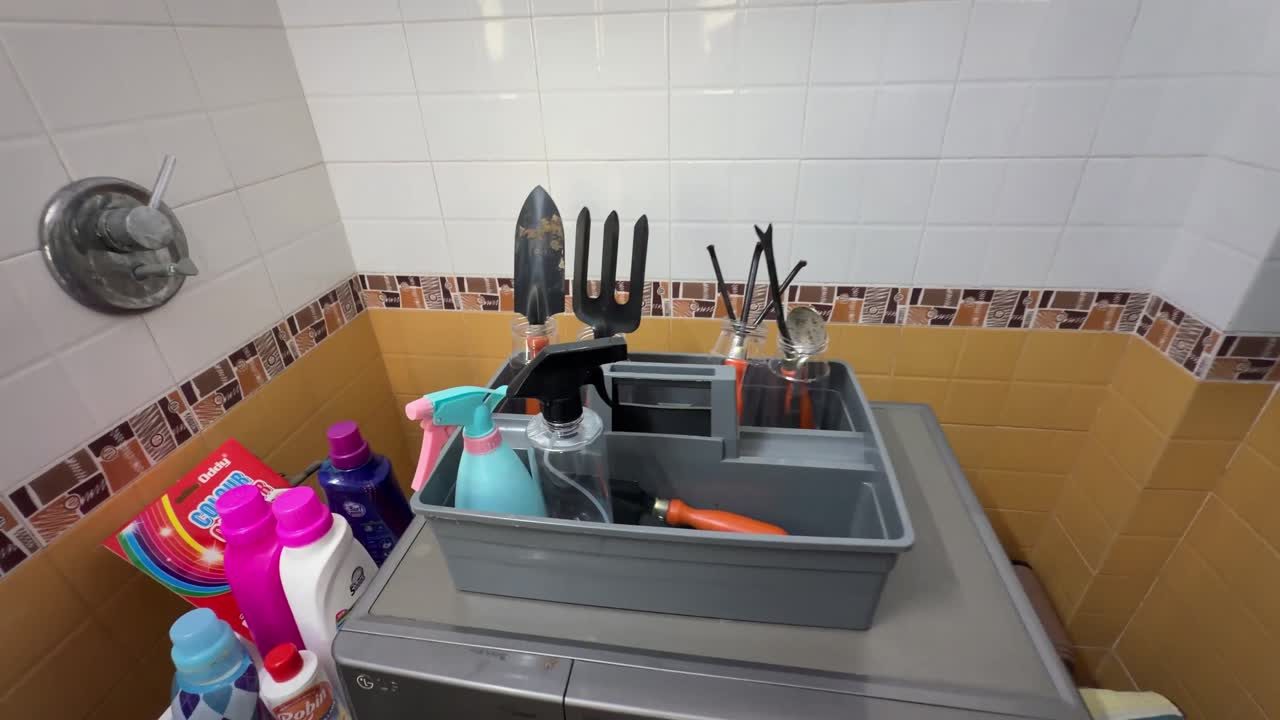
The gardening supplies had to stay in this room, so I turned the cleaned caddy into a gardening caddy. I repurposed plastic bottles as little tool holders and gave the spray bottles their own spots.
Now I can pick the whole thing up and take it where I need it. That makes much more sense than a bag of supplies in one corner and a caddy full of unrelated bits in another.
I also made the little stool easy to pick up. I use it when loading laundry, but having a basket on top meant I often couldn’t be bothered to get it out. Giving it an accessible spot removed one more bit of effort from a chore I already put off.
7. Leave room for real life, and a day two
I ran out of steam and daylight on the first day, so I finished the smaller jobs the next day. The big pieces were in place; the caddy, wall hamper and remaining messy spots still needed attention.
By the end, there was more room to walk, I could reach my supplies, and the baskets had clearer jobs: everyday laundry, bed linen, and towels with some extra bed linen. The bed linen was still a bit of a mountain. Just a smaller, more manageable mountain. We’re taking the win.
The washing machine wire was still visible, too. I couldn’t solve everything, and I didn’t need to. My goal wasn’t a room that looked untouched by human life. It was a cleaner, calmer space where I could move around and find things.
What I would focus on in another small laundry room reset
I’d start with the same questions: What can leave? Which storage am I blocking? What do I use most often? And what small change would make the next load of laundry less cumbersome?
I didn’t need matching detergent jars or beautiful labels before I could get started. If I wait until I have the perfect containers, I’ll still be waiting next to a pile of laundry. Function first. The pretty bits can have their turn later.
For more storage inspiration, you can browse these laundry room organization ideas. And if your closet needs a similar rethink, here’s how I made more space in my tiny closet.
Watch my tiny laundry room reset
You can see the original layout, the messy middle and the final result in the video below.
Products and resources from the video
Disclosure: Some links below are affiliate links. If you buy through them, I may earn a commission at no additional cost to you. As an Amazon Associate I earn from qualifying purchases.
These are the product links shared with the video: wall hanging laundry basket, a similar three-tier utility rack, laundry baskets, Command hooks and a similar cleaning or gardening caddy. You don’t need to buy all of these to do a reset; start by seeing what you can reuse.
Want a smaller first step? Get my free Trash Bag Therapy guide. For the decisions that keep holding you up, try the Let It Go tool. And if you’d like more structure for the rest of your home, take a look at the Choose Calm System.
Do you have a mystery laundry basket too, or is there a different corner of your laundry space that keeps getting in your way? Tell me in the comments. I’d love to know I’m not the only one negotiating with a basket of forgotten clothes.